Cell shading is a popular art style that replicates the appearance of traditional hand-drawn animation. In this tutorial, we will explore how to achieve a cell-shading effect using a post-process material in Unreal Engine. By the end, you’ll be able to add a unique visual style to your game or project.
Prerequisites: Before we begin, make sure you have the following:
- Unreal Engine installed (version 4.26 or later)
- Basic understanding of the Unreal Engine interface
- Familiarity with material editing in Unreal Engine
Step 1: Creating a Post Process Material
- Open your project in Unreal Engine and navigate to the Content Browser.
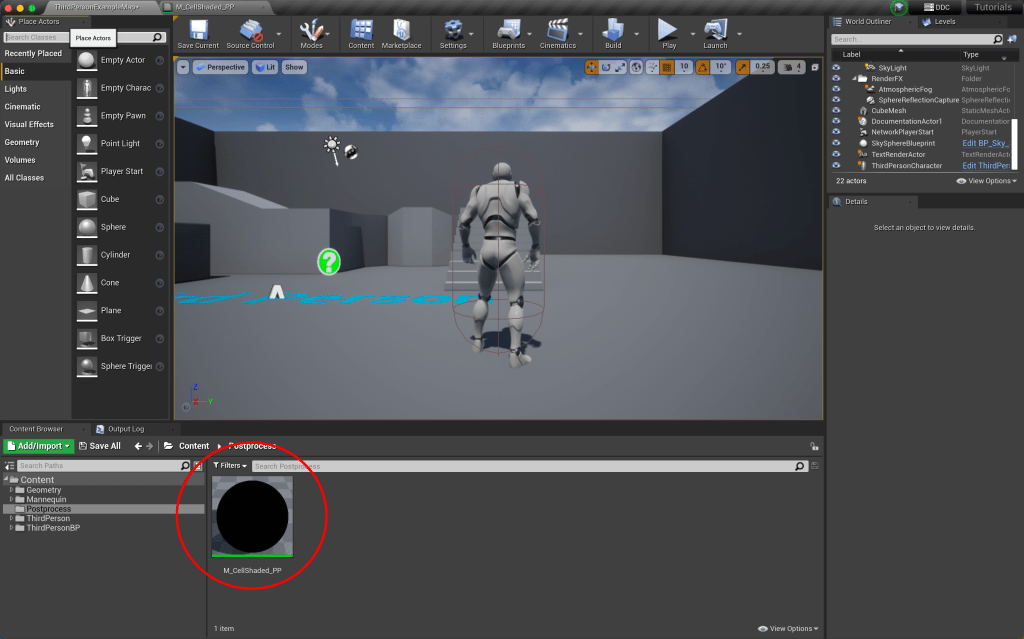
- Right-click in the Content Browser and select “Material” to create a new material.
- Name the material as “M_CellShading_PP” (or any name you prefer).
- Double-click the newly created material to open the Material Editor.
Step 2: Configuring the Post Process Material
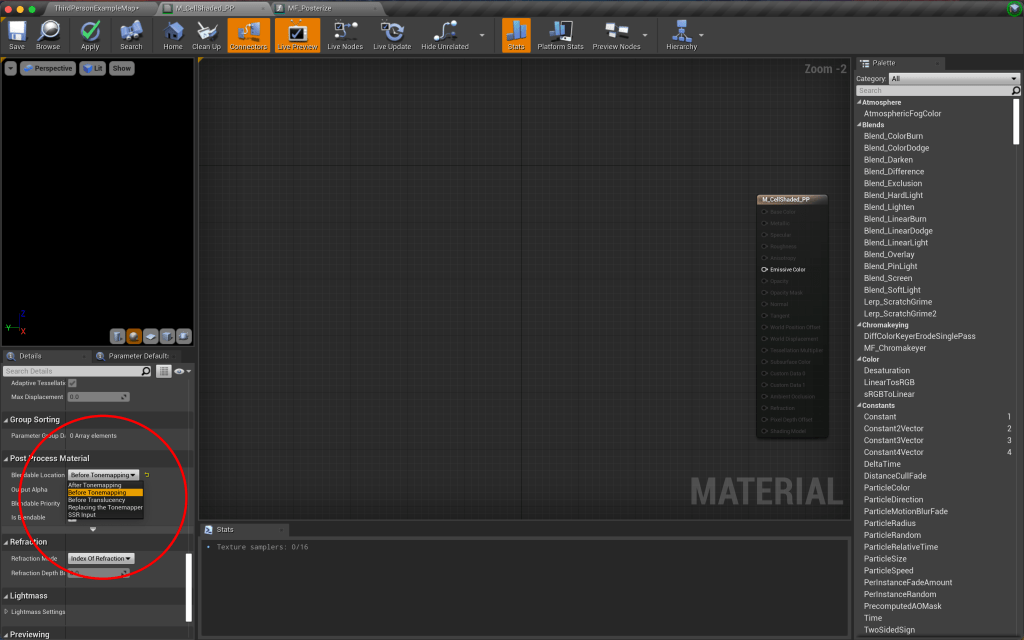
- Change the Material Domain of the Material to Post-Process.

- Scroll down and change the Blendable Location to “Before Tonemapping”.
Step 3: Setting up the Post Process Material
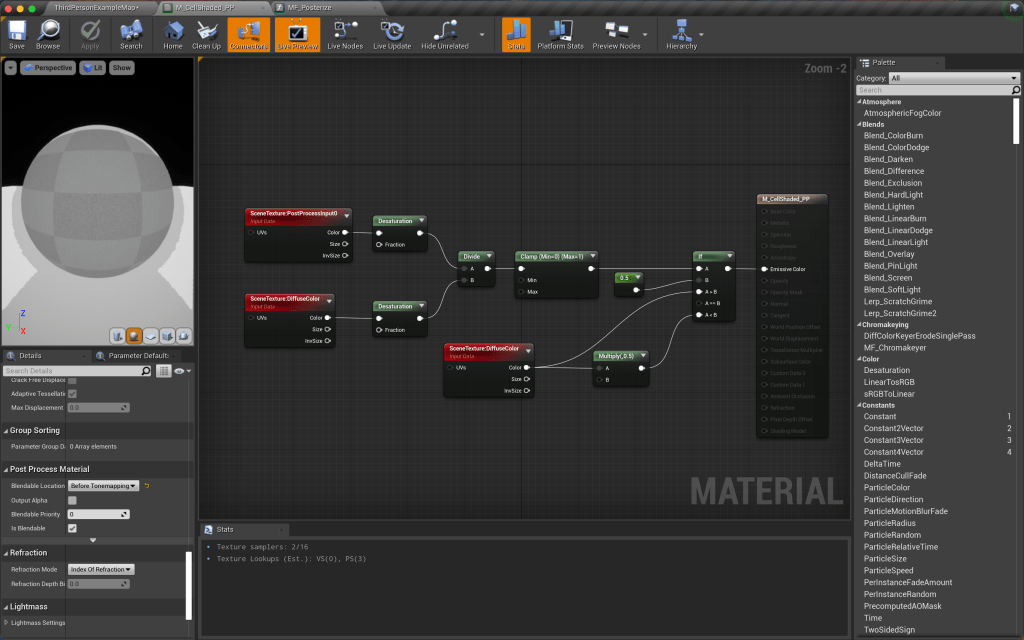
- Create a SceneTexture node and change the Scene Texture ID setting to PostProcessInput0. Hook it up to a Desaturation node.
- Create another SceneTexture node and change the Scene Texture ID setting to DiffuseColor. Hook it up to a Desaturation node.
- Connect the Desaturation to the top of a Divide node, and the bottom Desaturation to the bottom of the Divide node.
- Connect the Divide node to a Clamp node.
- Connect the Clamp node to the A slot of an If node.
- Connect a Scalar node to the B slot of the If node and change the value to 0.5.
- Create another SceneTexture node and change the Scene Texture ID setting to Diffuse Color. Connect this to the A>B slot of the If node.
- Connect the previous SceneTexture node to a Multiply node and change the bottom value of the multiply to 0.5. Connect the Multiply node to the A<B slot of the If node.
- Finally, connect the If node to the Emissive Color of the Material shader node.
The full node tree should look like this:
Step 4: Applying the Post Process Material
- Close the Material Editor and go back to your main level.
- Drag a Post-Process Volume into the scene by searching for it in the Place Actors panel.

- Scroll down to the Post Process Volume Settings and check the Infinite Extent (Unbound) checkbox.
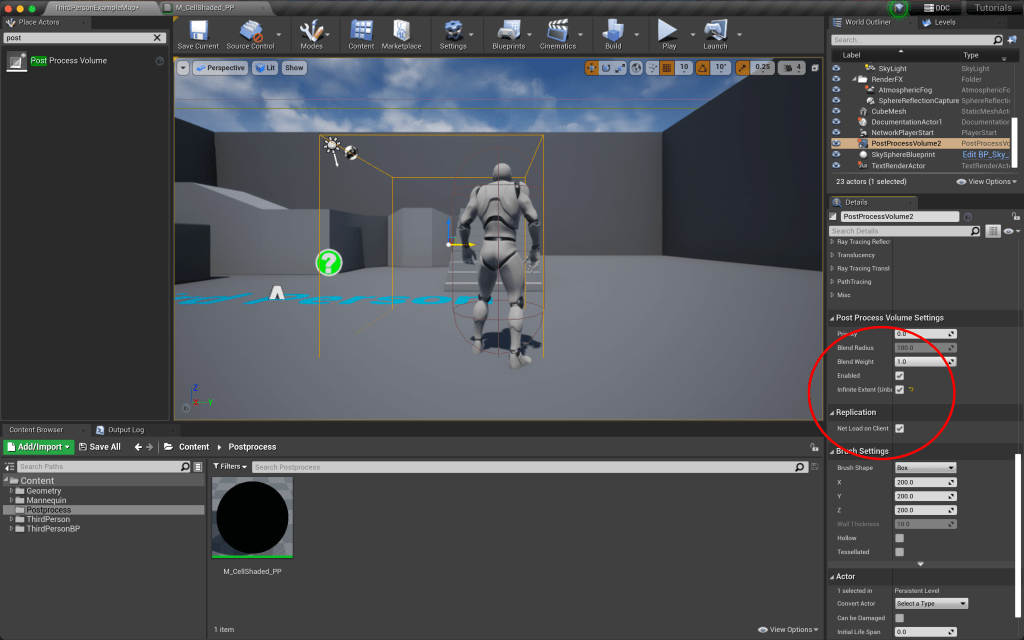
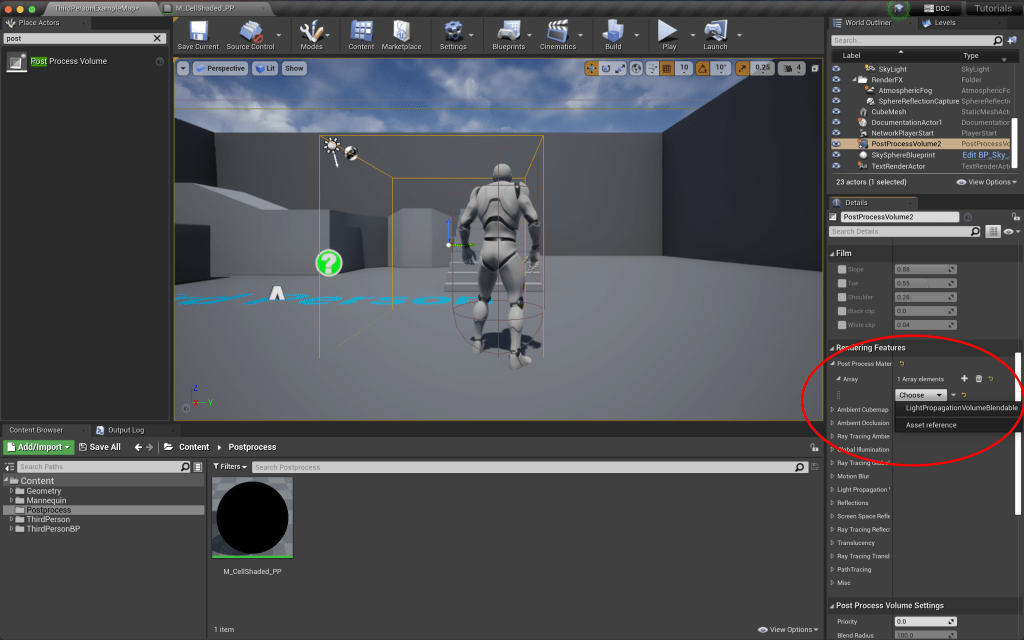
- Scroll up to the Rendering Features section and open up the Post Process Materials carrot.

- Press the plus button to add a new Post Process Material. Choose an Asset Reference type.
- Choose the cell shading Material you created.
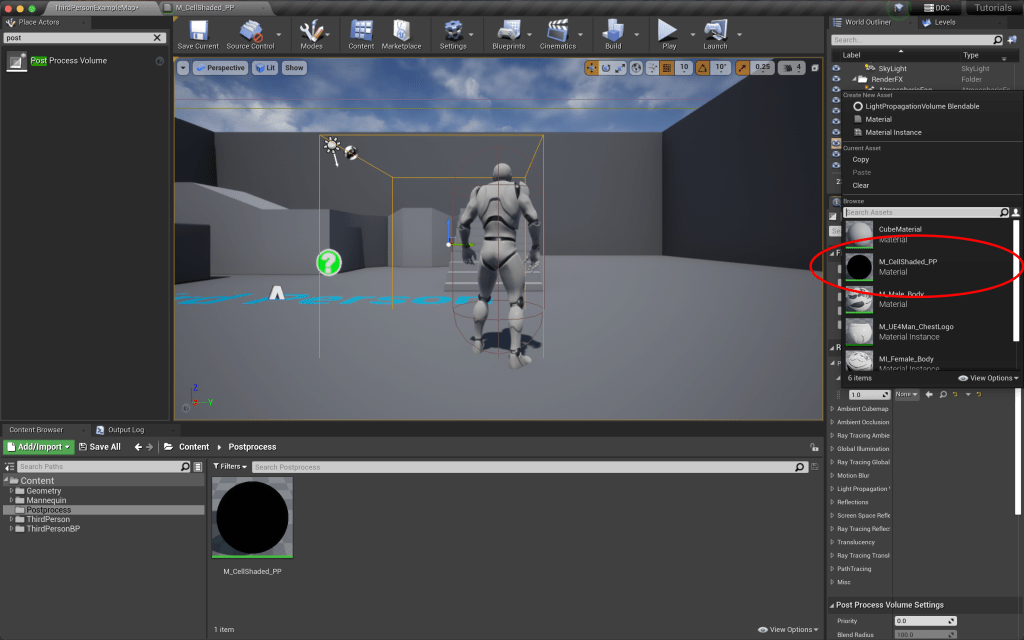
And that’s it! Now we have our Cell Shader Post Process Volume! Feel free to play around with the settings to how else you can tweak the look.


Leave a comment